My Store
Scalloped Border and Cake layering Stencils, set of 2 stencil sheets
Scalloped Border and Cake layering Stencils, set of 2 stencil sheets
Couldn't load pickup availability
Share
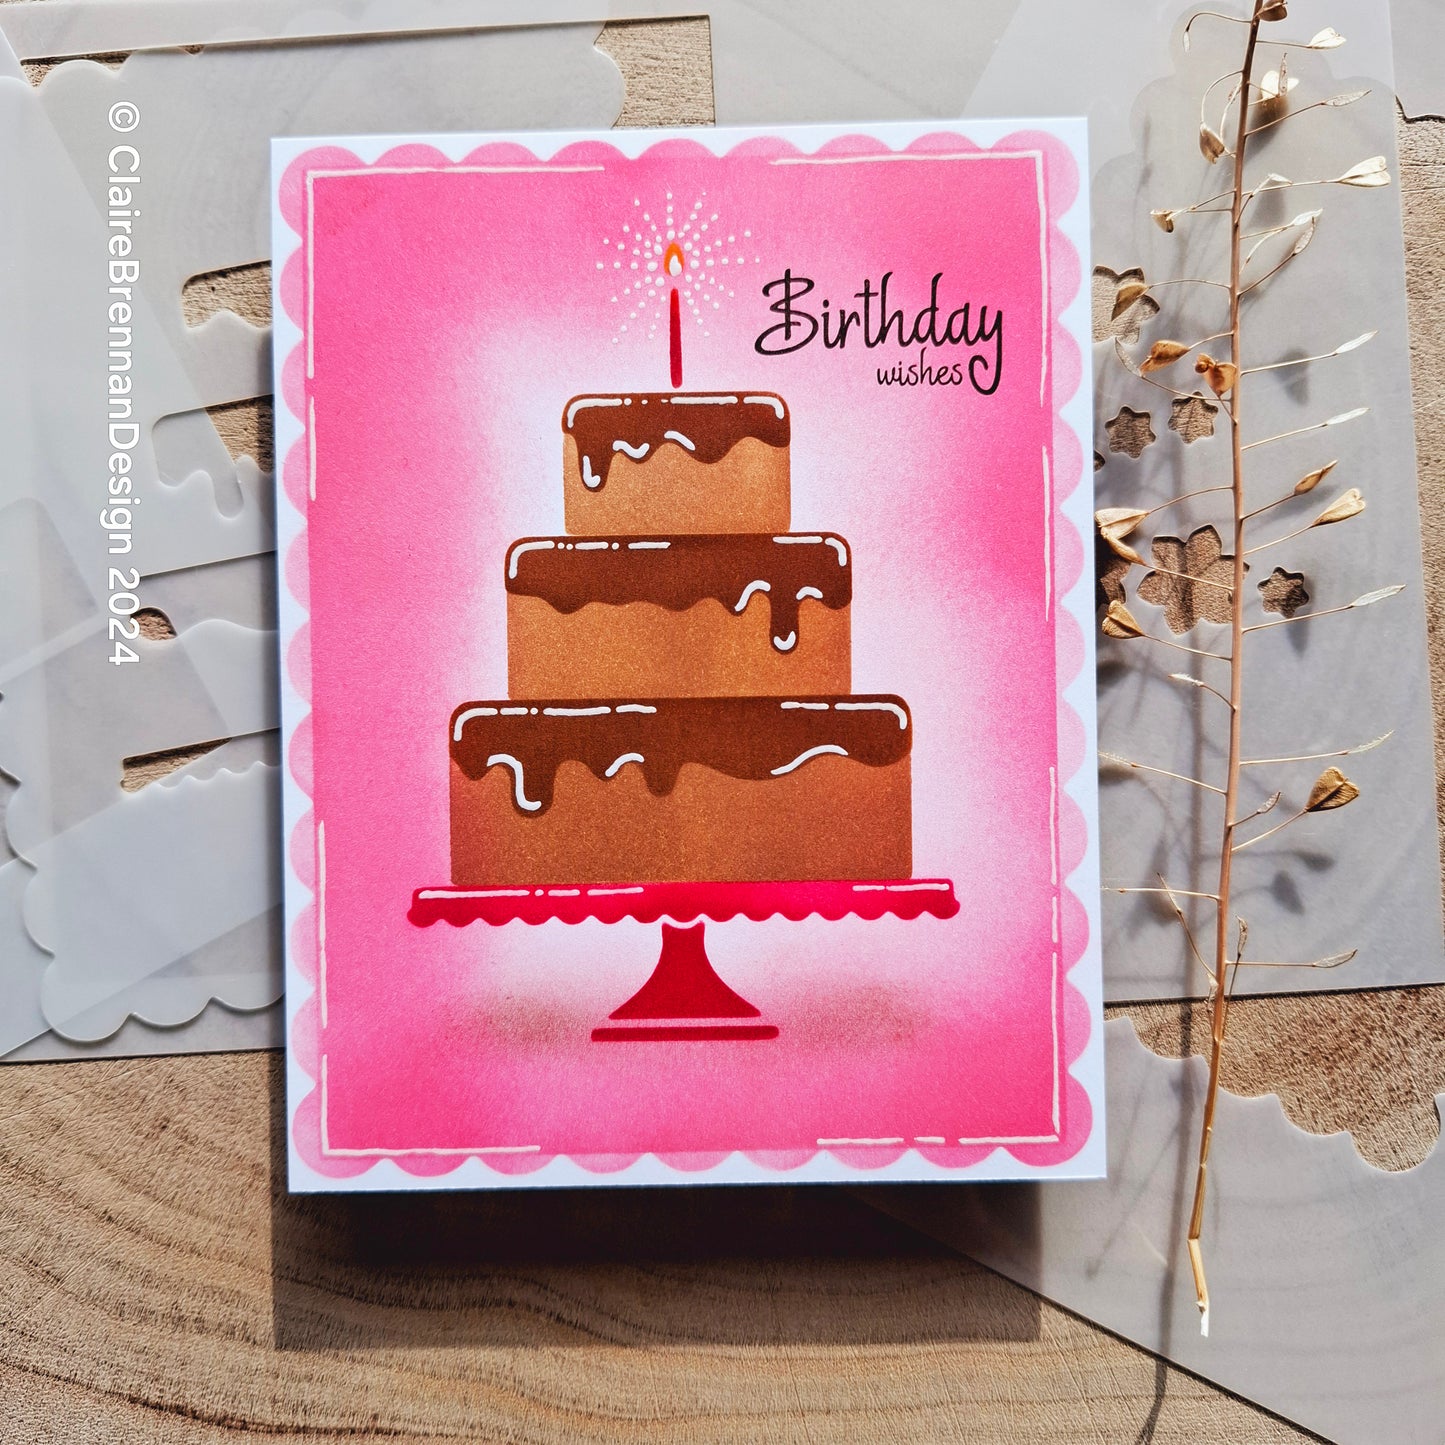
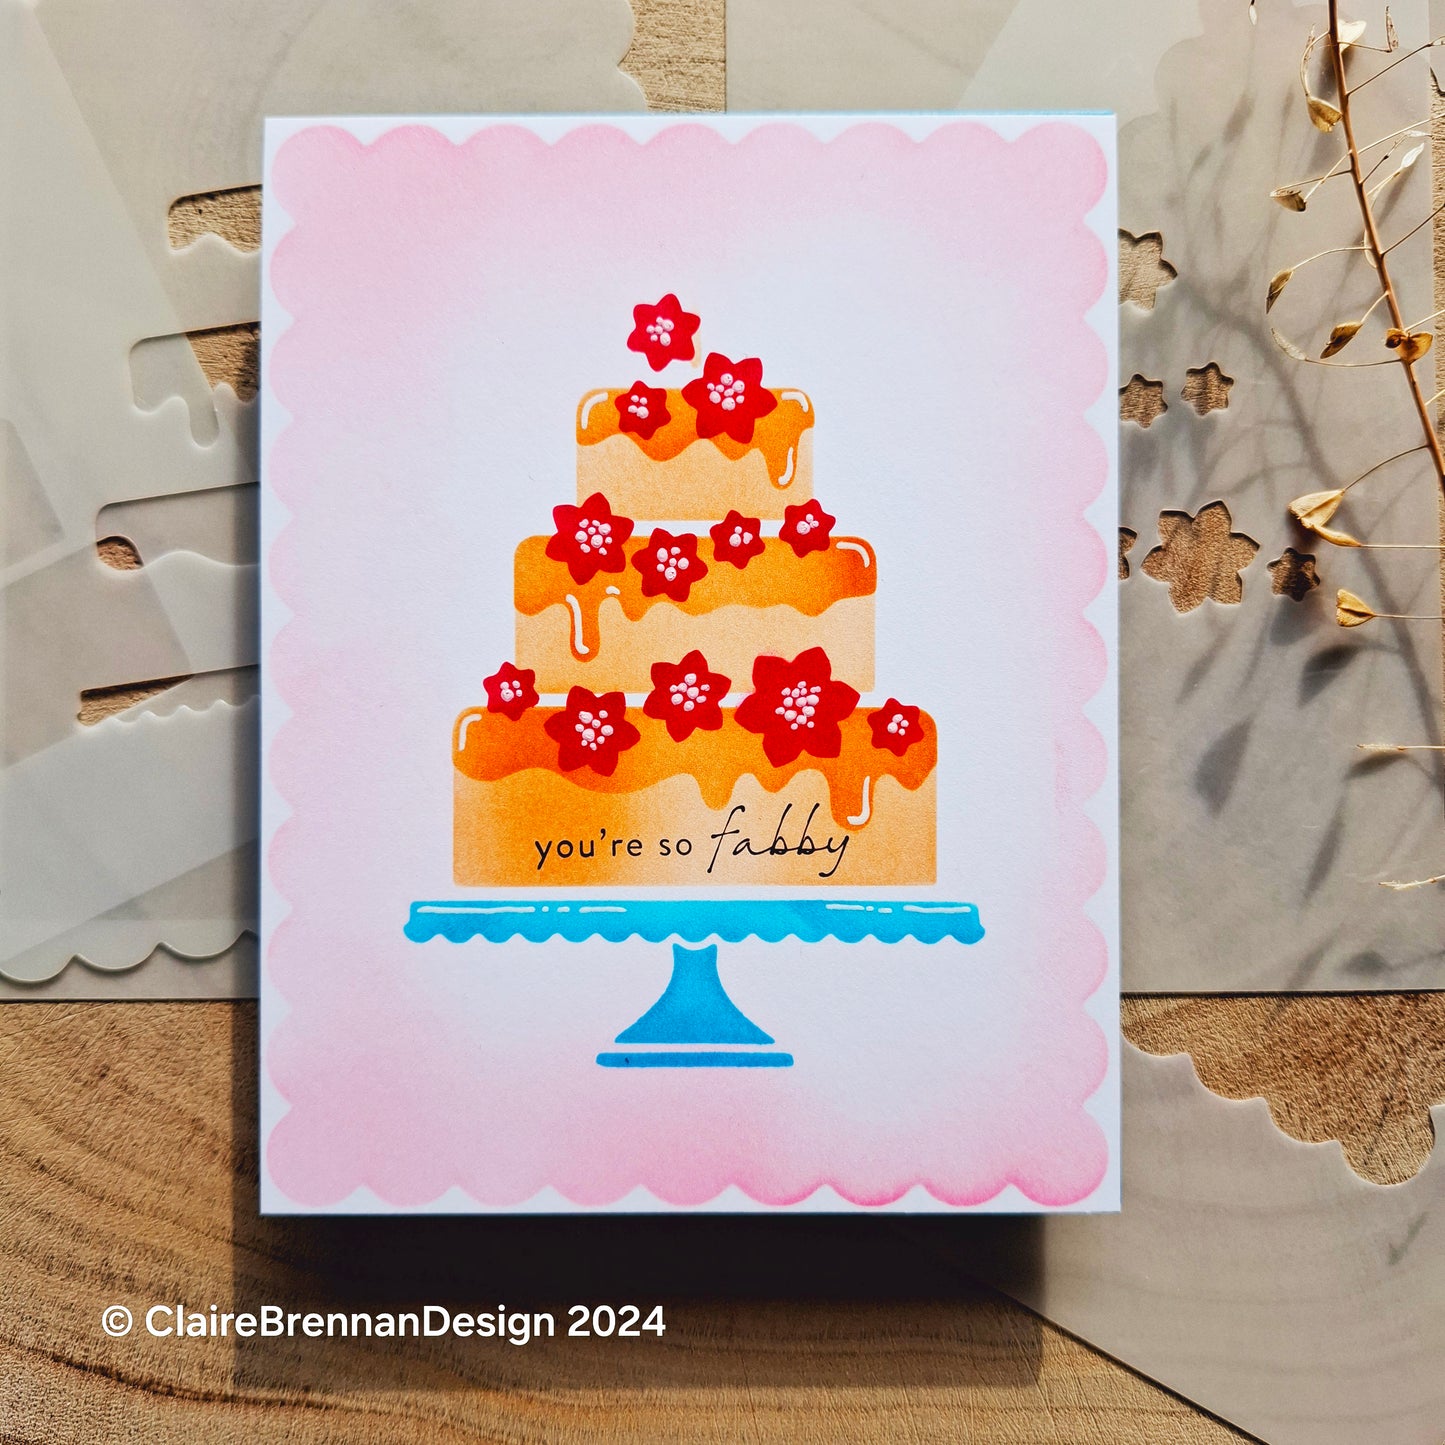
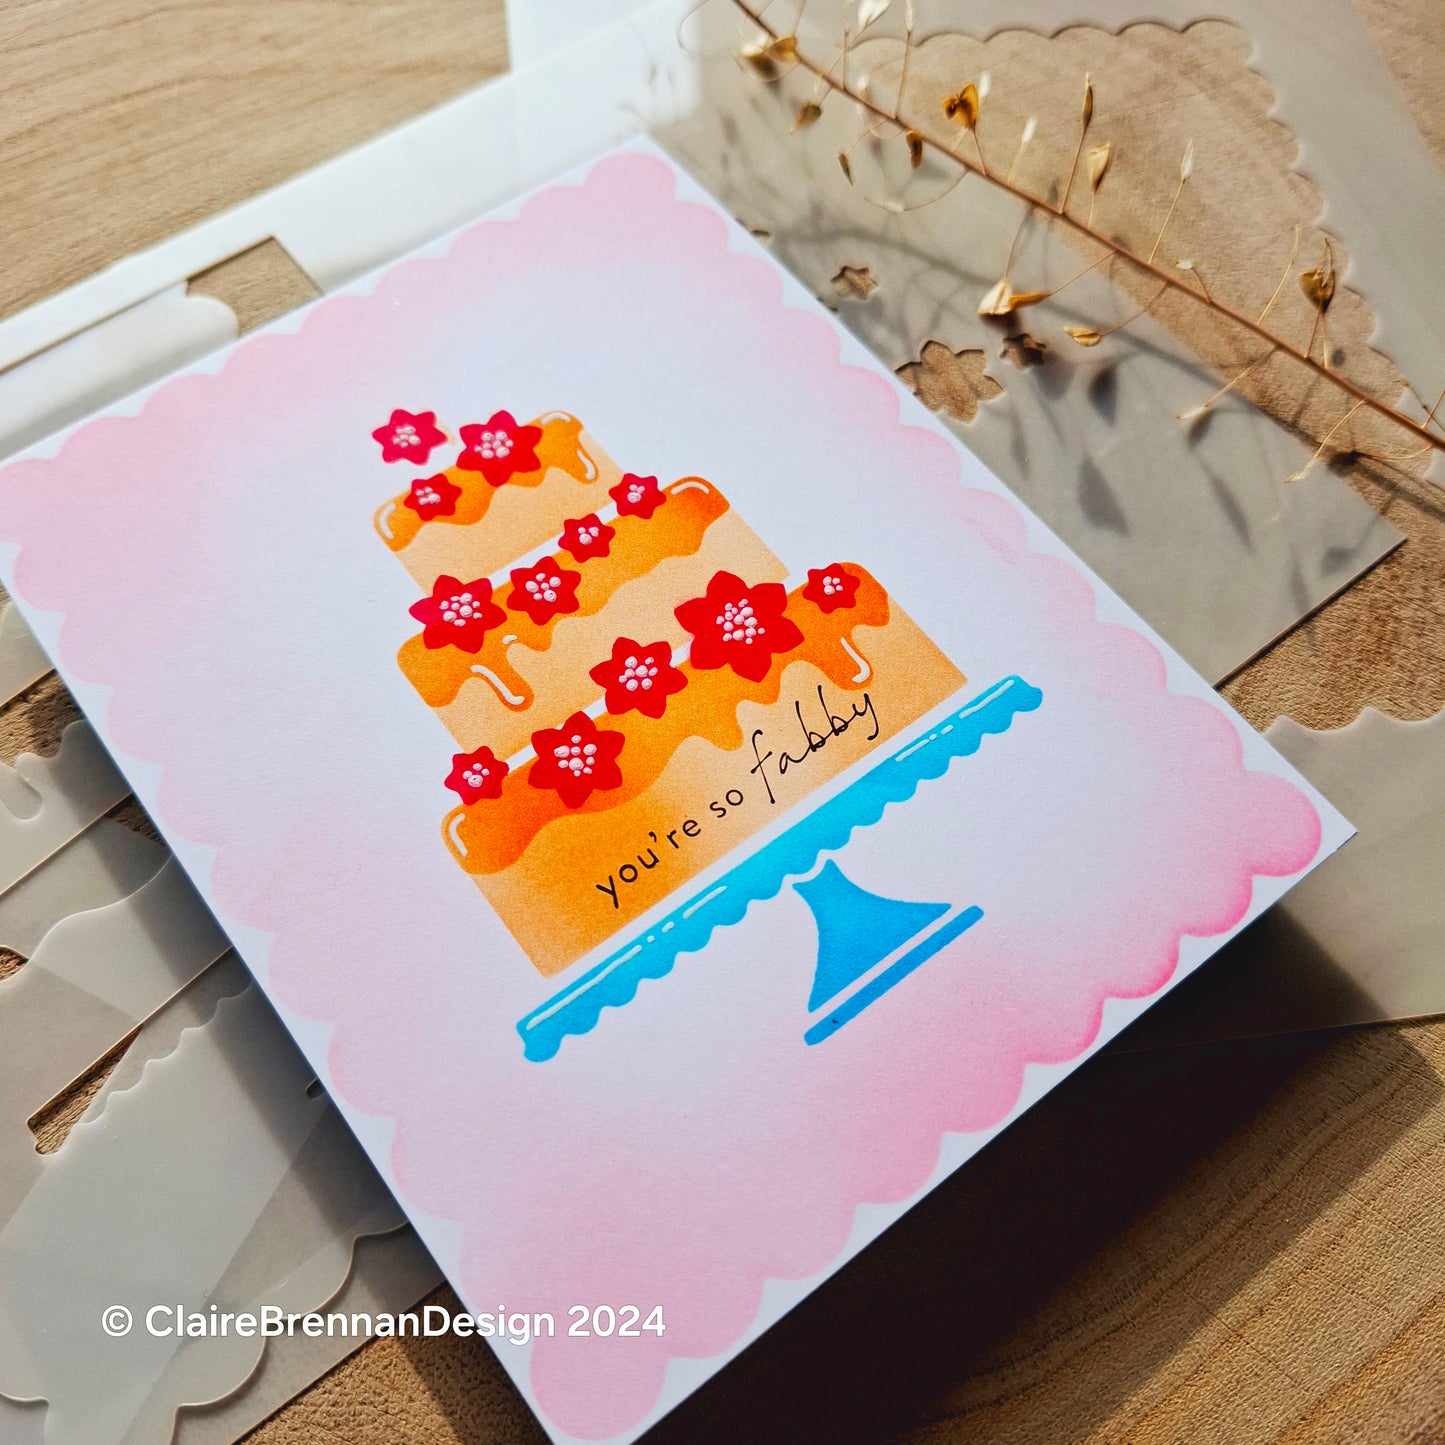
Create scalloped borders and cakes with ease on your cards.
Now available for either US card sizes or European A6 card size, choose the card size you prefer to make (Please note the A6 card sizes are taller but thinner than the images pictured).
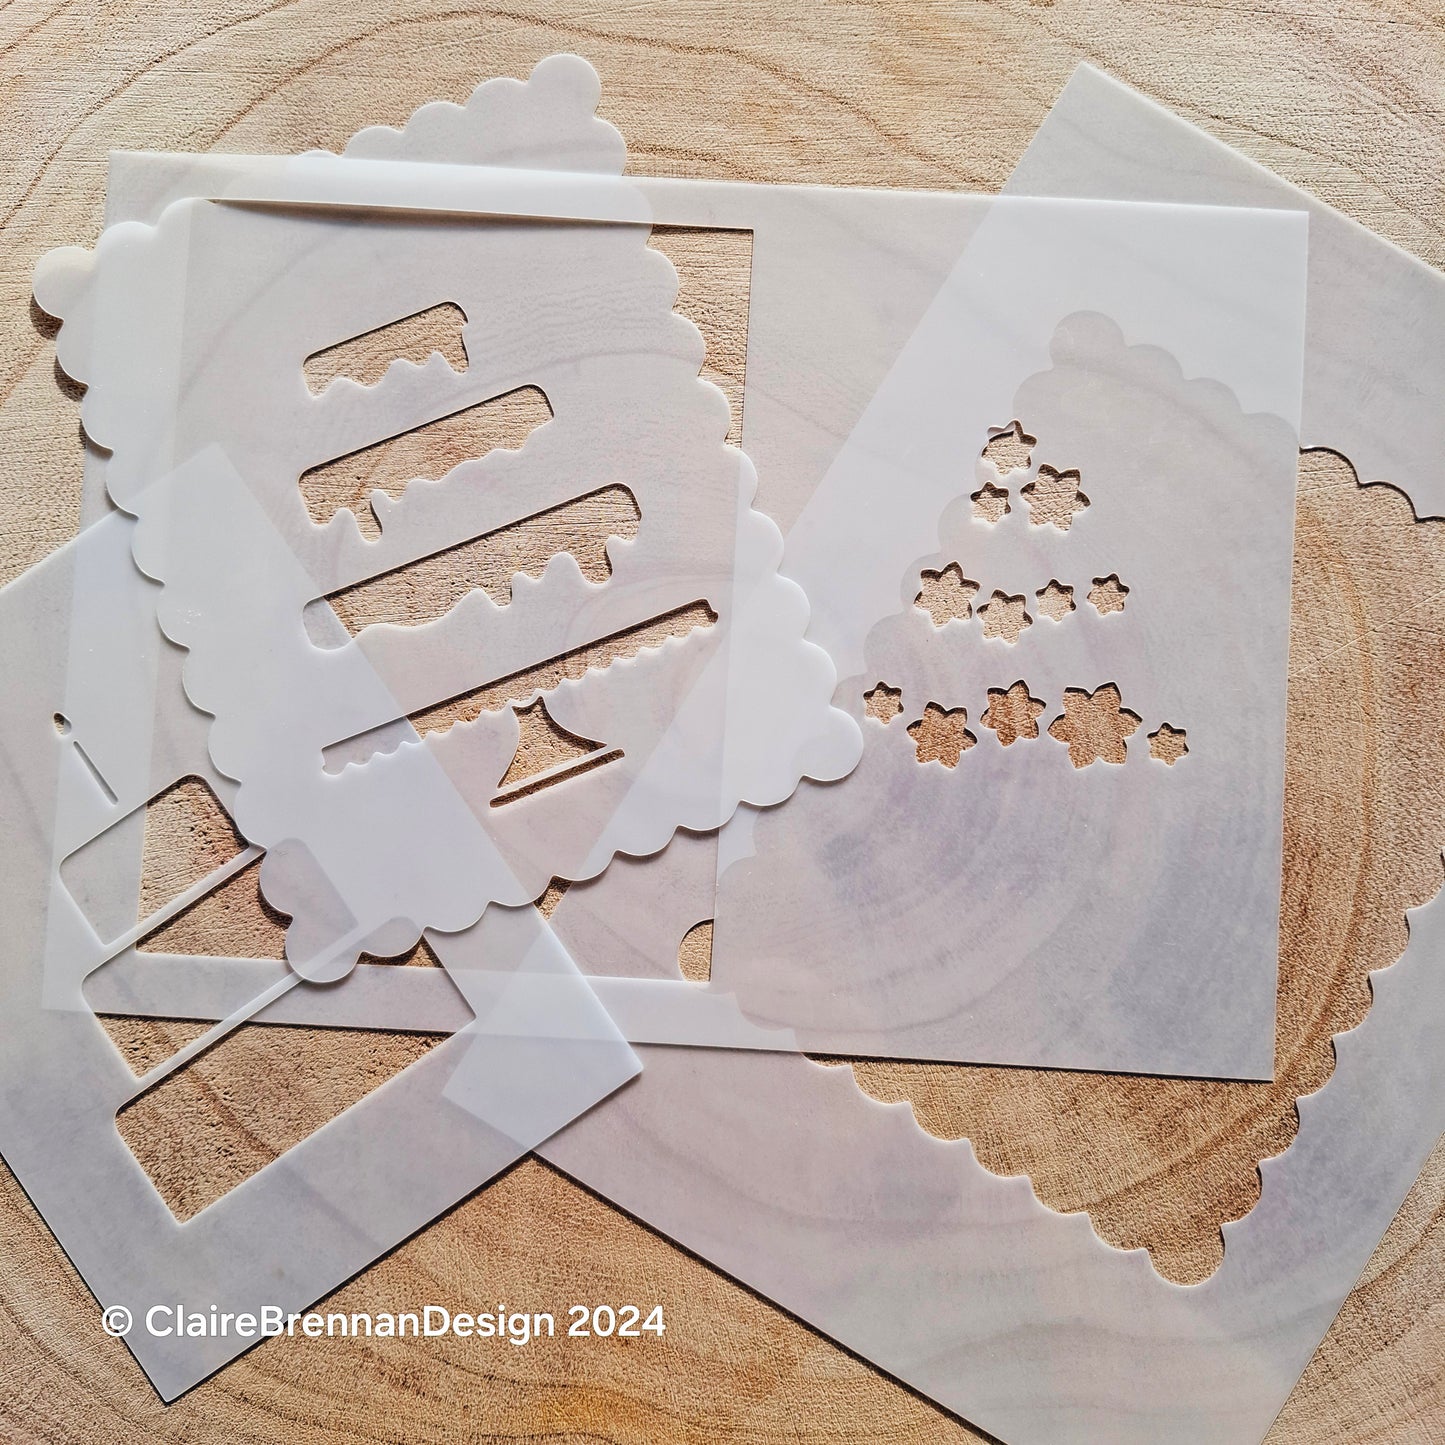
Two sheets of A5 stencils separate to give multiple separate stencils that can be used in a multitude of ways. Please note, both sets contain 4 functional stencils and I leave the excess stencil material on the flower stencil so that you might be able to use it as well, however it must be said, it is more usable on the US card size than the A6 size due to size. I will be doing a video at some point where I will show this.
These stencils are specially sized to work with card fronts that are 4.25 by 5.5 inches which is the most commonly used USA card size.
If you make European cards based on the A6 size, then you might like to select that option from the drop down menu.
Highly detailed designs, for best results use soft brushes and stamping inks. I cut these stencils myself in house and so please allow an extra few days for delivery. You may find a small amount of 'tack' on the reverse of these stencils when you first receive them, the making process involves using sticky carrier sheets. It will come off easily when you wash them, but I like to leave it on for the first couple of used as it helps the stencil stay put while I practice the new image.
These stencil sheets themselves are each A5 size - which is 5.8 by 8.3 inches in size (148 by 210 mm) and are made from Mylar plastic. There are 2 stencil sheets in this set that separate into a total of 7 stencils and one oval spacer.
They are semi opaque and you can see through them to position them exactly where you want.
Very easily cleaned with baby wipes or water and a little soap if necessary. They are perfect for creating backgrounds and focal points.
We design detailed stencils and some of them can be quite delicate so take care when handling.
Use soft brushes to colour the open spaces and achieve complex patterns by layering, using in sequence or stencilling the same design again in a different position. See the pics for ideas.
Sponges may be used but you should use an up and down daubing motion for best results, dragging a sponge across a detailed stencil could result in damage to the stencil.


